home
/

How Are Directional Speakers Installed? A Complete Guide

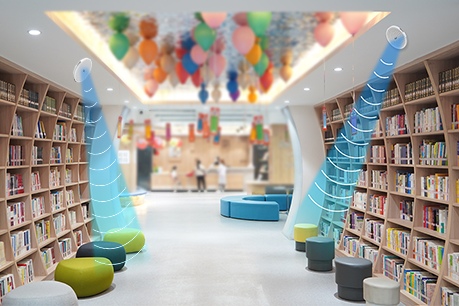
Directional speakers are transforming the way sound is delivered in modern spaces. By projecting audio in a focused beam, they allow you to control exactly where the sound is heard, minimizing noise spillover and enhancing the listener’s experience. Whether for museums, retail stores, exhibitions, or corporate environments, knowing how to install directional speakers properly ensures you get the most from these advanced systems. This guide will walk you through the essential steps, tips, and best practices for installation.

Quick Installation Checklist

For those who want a fast overview, here’s a concise checklist before we dive into details:

  • Identify the target listening area and analyze acoustics.
  • Choose the right mounting option (wall, ceiling, freestanding).
  • Position and angle speakers for optimal sound focus.
  • Connect wiring securely with quality cables.
  • Calibrate audio settings based on room conditions.
  • Perform regular maintenance to ensure long-term performance.

Directional Speaker Installation Flow

Step 1: Choosing the Perfect Spot

Before starting installation, analyze your environment carefully. Acoustics, room layout, and audience placement all influence performance. Ask yourself:

  • Where do I want the sound to be focused—individuals, groups, or an exhibit?
  • Are there reflective surfaces (like glass or concrete) that might affect sound projection?
  • Is the environment quiet (a gallery) or noisy (a shopping mall)?

By choosing the right spot, you maximize the impact of your directional audio system while avoiding wasted sound energy.


Step 2: Mounting Strategies

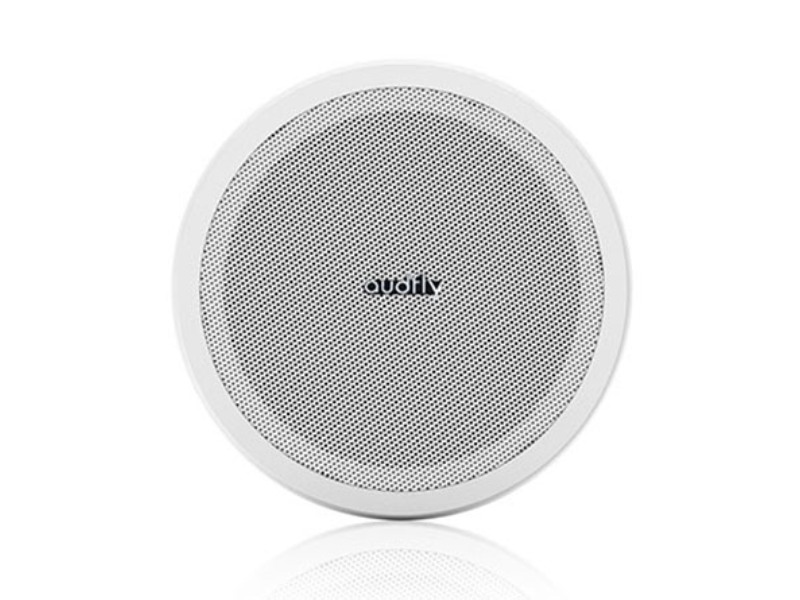
Directional speakers can be installed in several ways, depending on the design of your space:

  • Wall-mounted – Ideal for permanent installations with a clean, unobtrusive look.
  • Ceiling-mounted – Perfect for exhibitions and retail environments where sound should blend seamlessly into the space.
  • Freestanding – Flexible option, allowing repositioning for temporary displays or events.

Consider both aesthetics and functionality to decide which mounting option fits best.


Step 3: Precision Placement and Angling

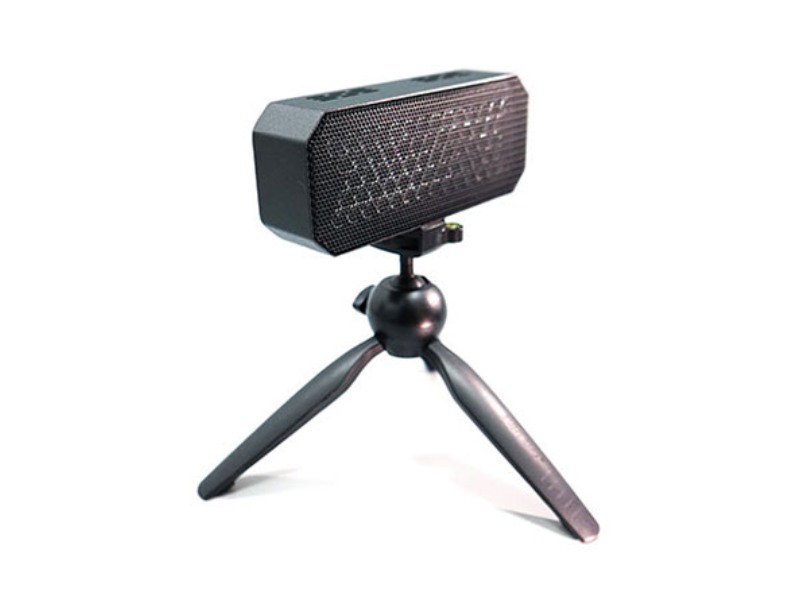
Positioning is critical. Even a few degrees of adjustment can change the listening experience dramatically. General recommendations include:

  • Place the speaker at ear level or slightly above for optimal clarity.
  • Test different angles to find the sweet spot where audio is clear without spillover.
  • Follow the manufacturer’s guidelines, but don’t hesitate to fine-tune based on your space.

Brands like Audfly design speakers with advanced sound beam control, making it easier to achieve precise targeting with minimal trial and error.


Step 4: Wiring and Connectivity

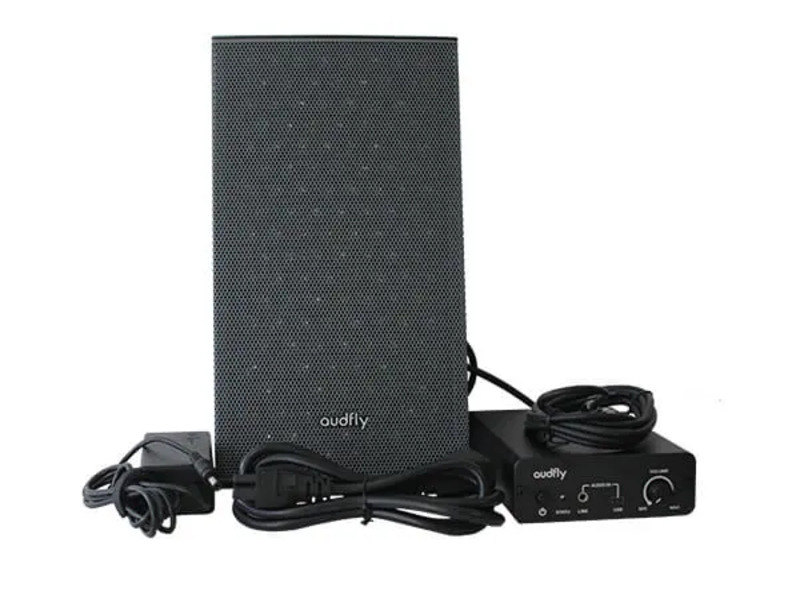
Once speakers are positioned, establish reliable connections:

  • Use high-quality audio cables to prevent signal loss.
  • Measure distances before installation to avoid cable slack or shortage.
  • Secure connections to amplifiers or audio sources as per manufacturer instructions.

After wiring, run a quick audio test to ensure consistent performance across all devices.


Step 5: Calibration and Fine-Tuning

Even after installation, calibration is essential. Adjust settings such as volume levels, equalization, and frequency response. Factors to consider include:

  • Room size and ceiling height.
  • Ambient noise levels.
  • Audience proximity to the sound beam.

With Audfly directional speakers, calibration is straightforward thanks to their highly focused ultrasonic technology, which reduces the impact of surrounding noise.


Step 6: Regular Maintenance for Longevity

To keep your directional speakers in peak condition:

  • Dust them regularly with a soft cloth.
  • Inspect wiring and connectors periodically.
  • Run occasional audio checks to detect early performance issues.

Audfly systems are designed for durability, requiring minimal maintenance compared to conventional audio equipment.


FAQ: Directional Speaker Installation

  • Do directional speakers need a separate amplifier?
    Yes, most installations require an amplifier to power the speakers effectively, though some all-in-one models include built-in amplification.
  • Can directional speakers be used outdoors?
    Yes, but ensure they are weatherproof or placed in protective enclosures. Audfly offers solutions designed for both indoor and semi-outdoor environments.
  • How far can directional speakers project sound?
    Depending on the model, directional sound beams can project clearly from a few meters up to 20 meters or more.
  • What’s the most common mistake in installation?
    Improper angling or positioning, which leads to sound spillover or weak projection in the target zone.


Final Thoughts

Installing directional speakers is more than a technical task—it’s about creating an immersive and controlled audio experience. By choosing the right location, mounting method, and calibration settings, you ensure that sound reaches the audience exactly as intended. If you’re seeking advanced, reliable, and easy-to-install solutions, Audfly directional speakers provide cutting-edge sound beam technology tailored for museums, retail, exhibitions, and beyond. For more information, explore Audfly’s product solutions or contact our team for customized installation support.

Audfly Best-Selling Product Recommendations

Latest News & Blogs
Document
Blog,Directional Sound System Company - Audfly
Enter your inquiry details, we will reply you in 24 hours.
Send